-
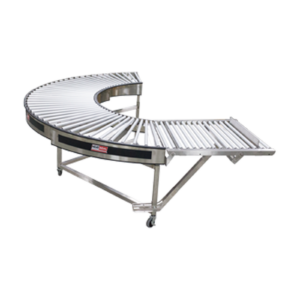
Accessories
Transform your production area with Heat Seal's shelving and conveyor accessories. Maximize your space efficiency and production capacity with some of these helpful additions.
-
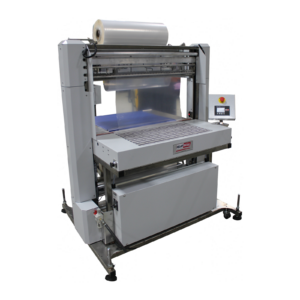
Bundling
Elevate your packaging method to new heights with our L-bar shrink bundling system. Designed for ease of use and transitioning from large to small packaging sizes, this innovative solution is ideal for industries seeking a reliable method to bundle and shrink-wrap products with ease.
-
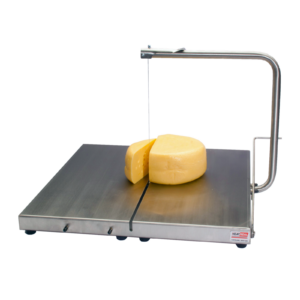
Food Processing
Improve your prep areas with heavy duty aluminum label dispensers to keep things organized. Heat Seal's Stainless steel cheese cutters are built to last and help to create the perfect portion with ease every time.
-
Laundry Wrapping
Heat Seal's laundry wrapper and laundry bundlers are used for large volume laundry processing. Laundry overwrappers and laundry bundlers designed for laundry packaging applications. Used to package large stacks of cleaned laundry either by stretch over wrapping or by film bundling.
-
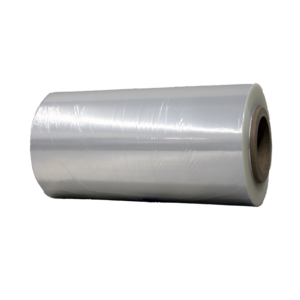
Packaging Film
Heat Seal offers a few film options so that you have something to work with when you're machine arrives.
-
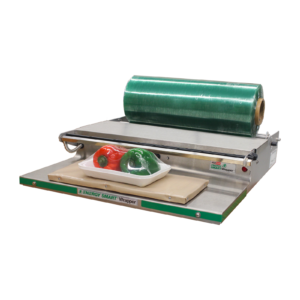
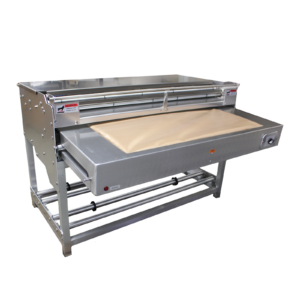
Manual Wrappers
Overwrapping establishes a protective shield against air, moisture, and contaminants, with one of its primary advantages being the preservation of freshness.
-
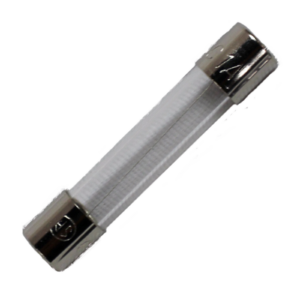
Replacement Parts
At Heat Seal, we understand the importance of keeping your equipment running smoothly. When it comes to maintaining the efficiency of your equipment, trust Heat Seal replacement parts to deliver precision, durability, and reliability.
-
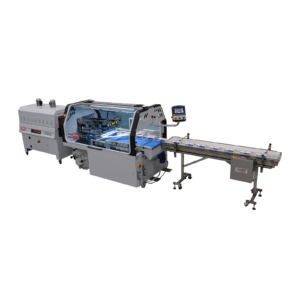
Shrink Wrapping
Shrink wrap packaging offers product protection, tamper evidence, visibility and is a cost effective solution across a wide variety of industries and products.
-
Skin Packaging
Skin packaging involves placing a product on a backer card and covering it with a transparent plastic film, this process provides product protection, immobilization, and visibility.
-
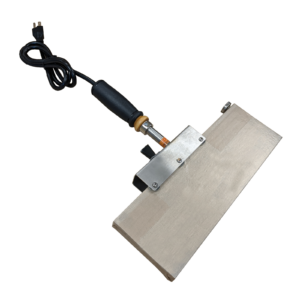
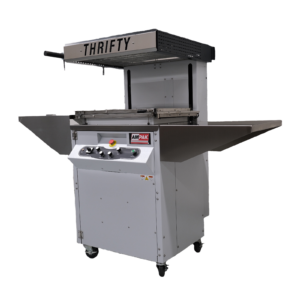
Small Appliances
Heat Seal offers small appliances for specific jobs or hobbies.
-
0
Cart