Description
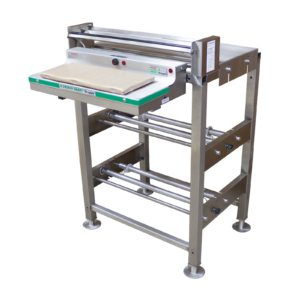
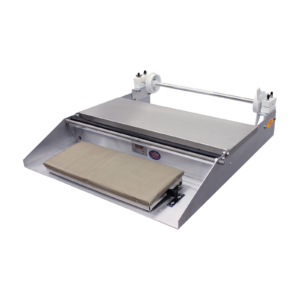
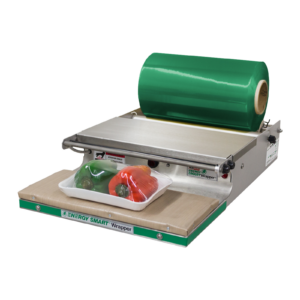
600A Table Top Manual Wrapper with Cradle Style Film Mount Features (2) Heating Elements a 6″ x 15″ Seal Plate and a Hot Film Cut-Off Rod


$579.00
Heat Seal’s 600A stands as a reliable work horse for food packaging. Made in Cleveland Ohio, Heat Seal’s manual wrappers are built with durable components to withstand daily usage for years of operation.
600A Table Top Manual Wrapper with Cradle Style Film Mount Features (2) Heating Elements a 6″ x 15″ Seal Plate and a Hot Film Cut-Off Rod
| Weight | 19 lbs |
|---|---|
| Shipping Dimensions | 29 × 24 × 5 in |
The 600A Standard Wrapper is covered by a 1 Year Warranty. For more information, go to our warranty page.
$553.00
Add to cart
$877.00
Add to cart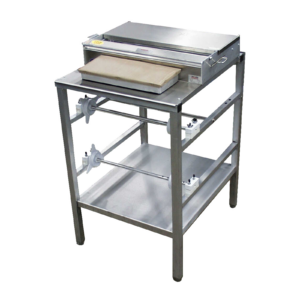
$1,128.00
Add to cart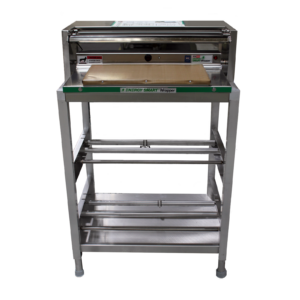
$849.00
Add to cart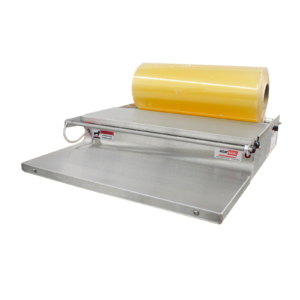
$497.00
Add to cart
$1,239.00
Add to cart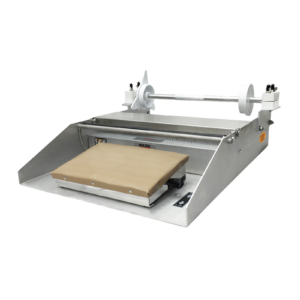
$545.00
Add to cart